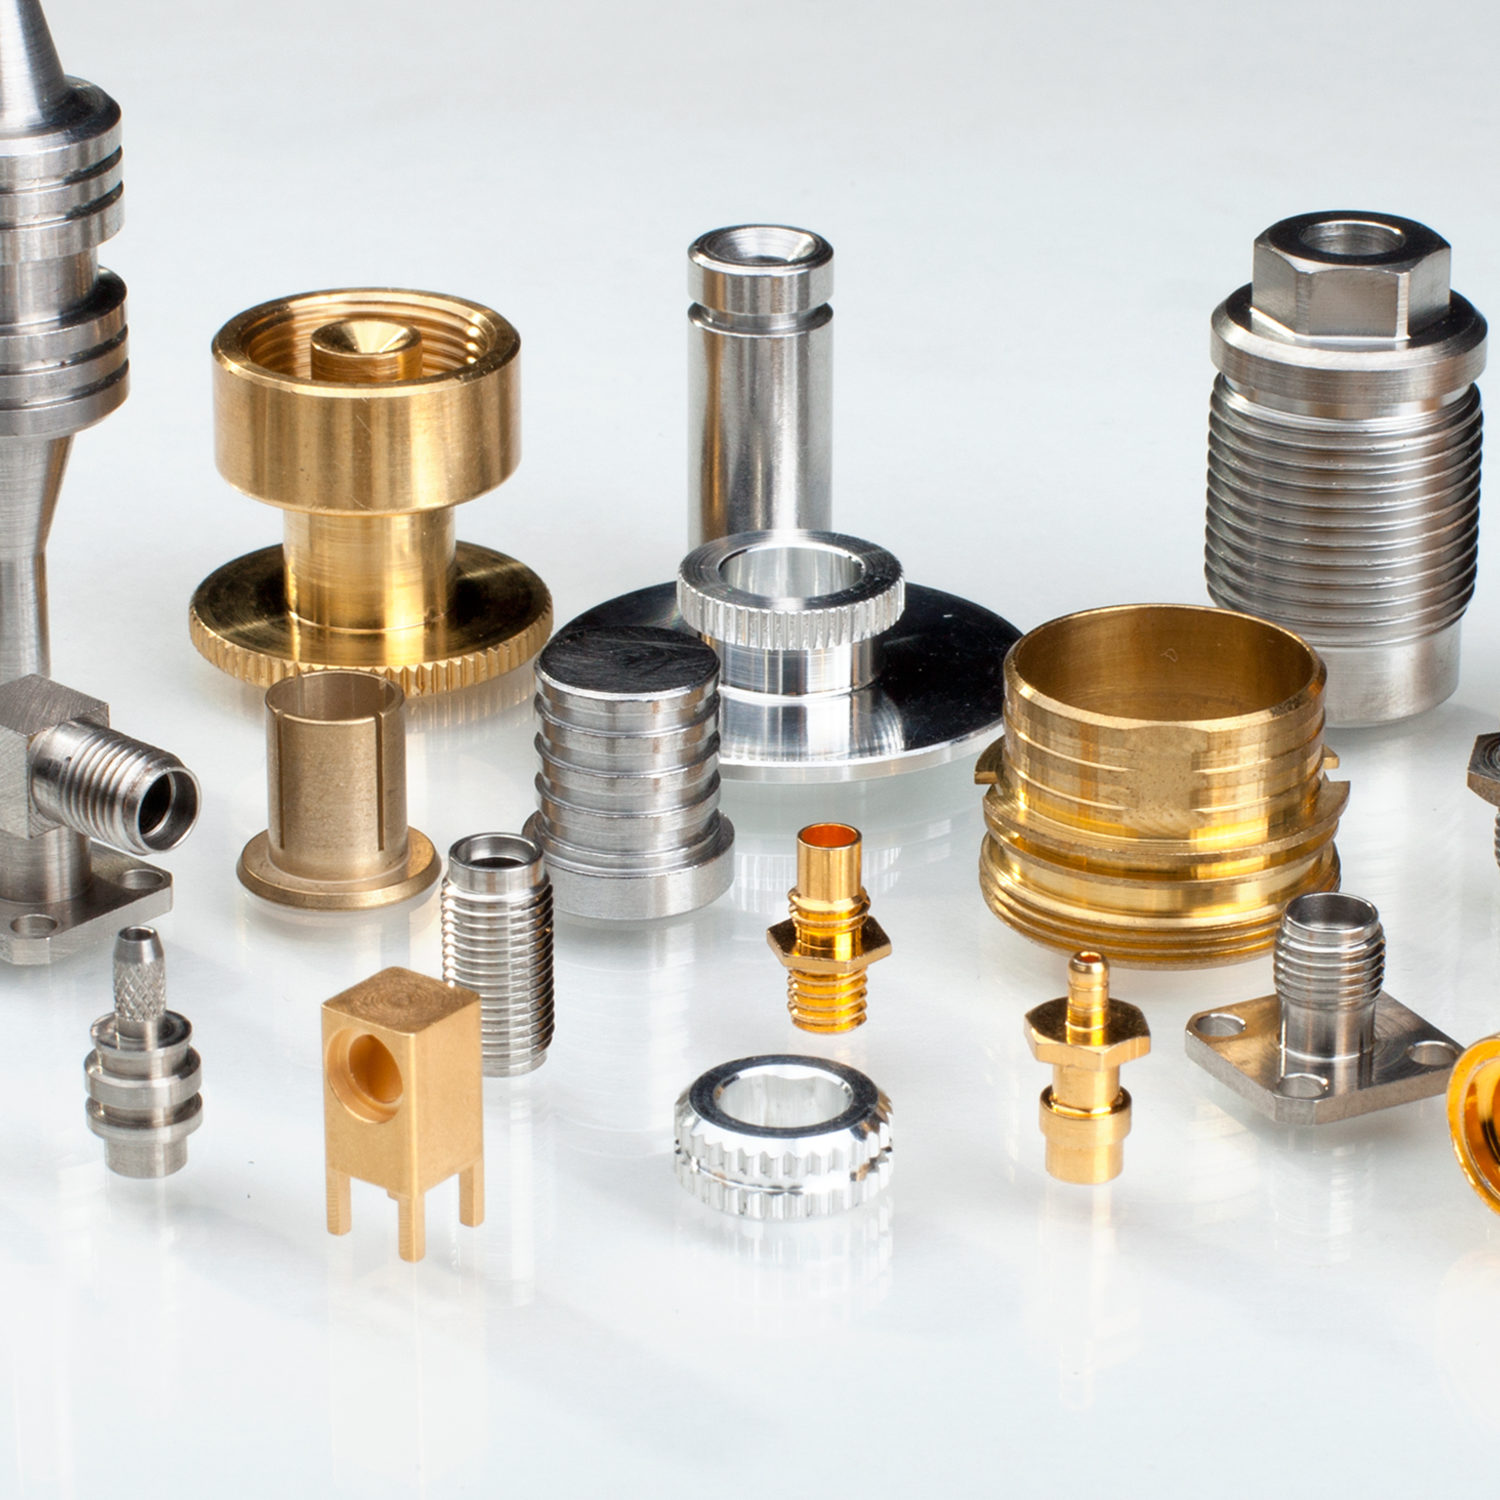
precision medical parts|Electroplating of precision parts

Because the plating layer has a certain thickness, after the surface treatment of the part, it will inevitably cause the change of the size of the part. Generally, the dimensions and tolerances of the parts specified on the design drawings refer to the final dimensions and tolerances of the parts. If the parts do not have matching requirements, electroplating or electroless plating is still feasible on the final dimensions of the parts; if the parts have higher precision, The fit gap after assembly cannot accommodate the thickness of the plating layer and its deviation relatively, so plating on the final size of the part is detrimental to the assembly and working performance of the product. In order to solve the problem of size matching of parts with matching requirements after plating, it is necessary to negotiate with the design and process departments of the parts to determine the pre-plating process dimensions of the parts, and reserve the thickness of the plating layer and the size deviation of the plating in advance. It must be noted that it is not feasible to reserve the thickness of the plating layer and not reserve the thickness deviation that may occur during plating.
The law of the final size change of the part caused by the conversion coating treatment is different from that of electroplating and electroless plating. Since the conversion coating layer is formed by the dissolution and conversion of the surface of the metal part in a chemical solution, the conversion coating is usually very thin, and the parts are generally not subject to significant changes in the final size after the conversion coating is processed. After the conversion coating treatment of the parts, the final size changes significantly, which affects the matching of the parts. It is common in the hard anodizing of aluminum and aluminum alloys, and the thick film corrosion-resistant phosphating processes. Since the strength of the phosphating film is not as strong as that of metal, it is not suitable to use measures to reserve the thickness of the film on the parts. In order not to affect the coordination of parts, it is advisable to use low-film heavy phosphating system solution for phosphating treatment to reduce the thickness of the film while still having good corrosion resistance.
The hard anodic oxide film on the surface of aluminum and aluminum alloy has high hardness and excellent wear resistance. It is a common method to improve the surface wear resistance of aluminum parts. In order to improve the service life of the parts, the product design usually requires hard The quality anodized film layer has a relatively large thickness. Therefore, after the aluminum parts are hard anodized, the final size of the parts will change significantly. This rule is usually followed, which is the increase in the final size of the parts, which is roughly equal to the film 1/2 of the layer thickness, as shown in the figure. This value is widely used to estimate the size change of aluminum parts after hard anodization.
Parts and fasteners with ordinary threads often encounter the problem of matching obstacles after plating. When the thread is electroplated, the thickness of the coating at the tip of the thread is different from that at the bottom of the valley. The thickness of the coating at the tip of the tooth will be significantly greater than that at the bottom of the valley. As the thickness of the coating increases, the difference between them will increase. The larger the value, the smaller the thread profile angle, as shown in the figure. With the difference of thread diameter and pitch, although the ratio of the difference between the tooth tip and the bottom of the coating thickness is also different, as the coating thickness increases, the tendency of the tooth profile angle to become smaller is always the case. The thread diameter and pitch are larger, and the accuracy is lower. After the thread is plated, there are fewer matching obstacles, and vice versa. Practice has proved that the main reason for the matching obstacles after the thread plating is the deformation of the tooth profile after plating, and the second is the plating thickness factor.
The current methods to solve the problem of matching obstacles after thread plating are roughly as follows:
1. When the corrosion resistance permits, appropriately reduce the thickness of the plating layer, and select a plating solution with excellent dispersion ability for plating;
2. In unavoidable circumstances, a sufficient margin can be reserved according to the appendix of GB197 and GB5263 standards-and the thickness of the selected coating layer;
The fasteners are coated with Dacromet coating (also known as zinc-chromium coating). The coating is composed of ultra-fine flaky zinc, aluminum powder and chromate mainly trivalent chromium. Dacromet coating solution is applied to the surface of the part, and after homogenization, the coating is formed by sintering. Floor. The performance of the coating against atmospheric corrosion is much better than that of the electro-galvanized layer. The thickness of the coating can be adjusted arbitrarily as needed, and it is relatively uniform, and will not cause changes in the tooth profile angle. Therefore, it is an ideal protection method for fasteners.
